How to Export & Import Posts in WordPress Without Losing Images

Published:  November 5, 2021

Step 1) Find Images on SFTP

uploads-folder-on-sftp

Before we dive into any steps in WordPress, we need to move the images from the original WP installation to the new one.

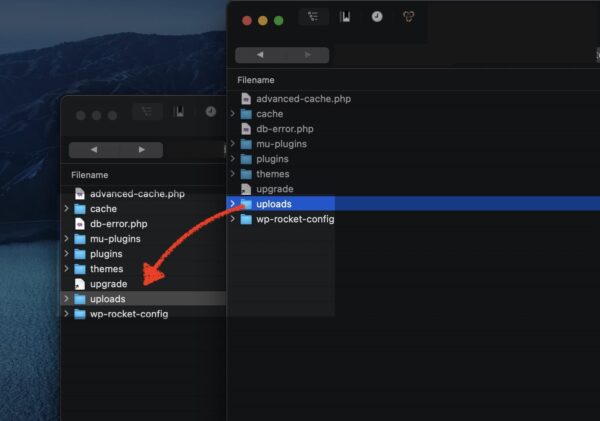
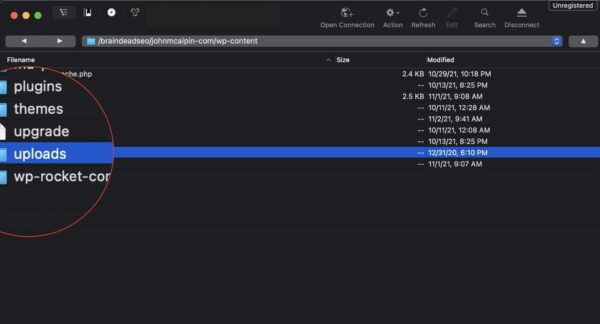
Login to your host’s SFTP and find your WP Contents folder. Within that folder, you need to find your Uploads folder.

Then, login to the SFTP on the new WordPress installation and find that Uploads folder.
Step 2) Copy and Paste Uploads Folder to New Host

transfer-uploads-to-new-wordpress-installation

Drag or copy/paste the uploads folder from the old WordPress installation to the new installation. Either overwrite that folder or add those images to the corresponding date folders.

Step 3) Export Everything From Original Site

Export-WordPress-Site

Now that the images have been added to the new WordPress installation, it’s time to export the content from the original WordPress installation.

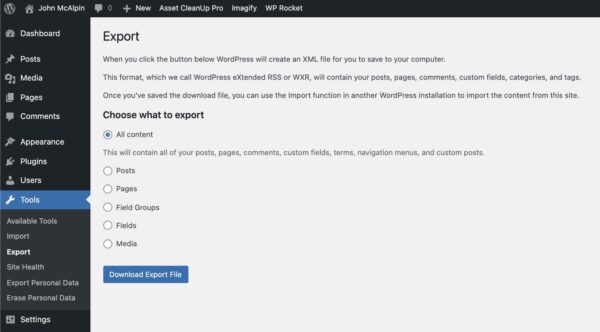
In the admin menu, go to Tools then select Export.

On the Export page, ensure that “All Content” is selected, then press “Download Export File.”

Step 4) Import XML File to New Site

Import-the-content

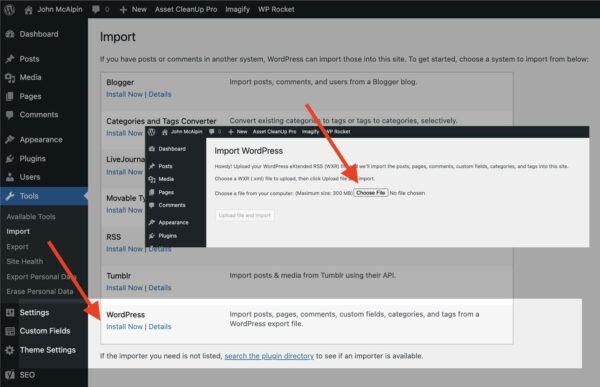
On the new WP installation, go to Tools then select Import. This will present several options for importing content. At the very bottom, you’ll see WordPress. Select Install Now and then click Run Importer.

This will present a new screen where you can upload your XML export file.

Once your file has been uploaded, WordPress will map your pages and content to the images you moved over in step two.

That’s it! You’ve successfully migrated your WordPress site along with all of the images.

« Back to All WordPress Tricks